1. Mounting of set screw unit:
a. Check accuracy of shaft
Before mounting the bearing unit, check the shaft accuracy for no bends, burrs, and other flaws.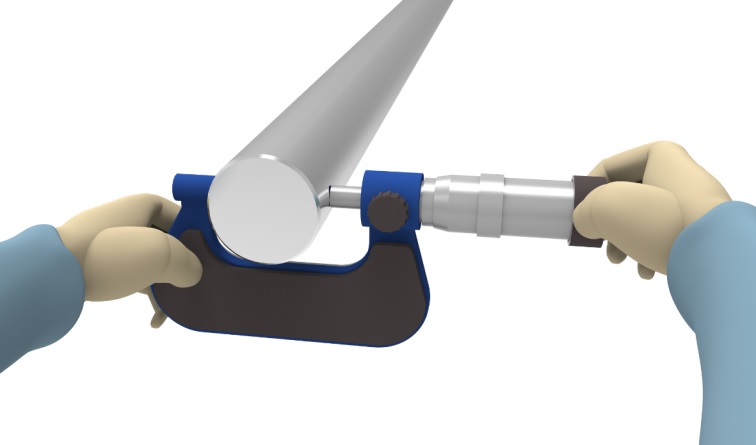
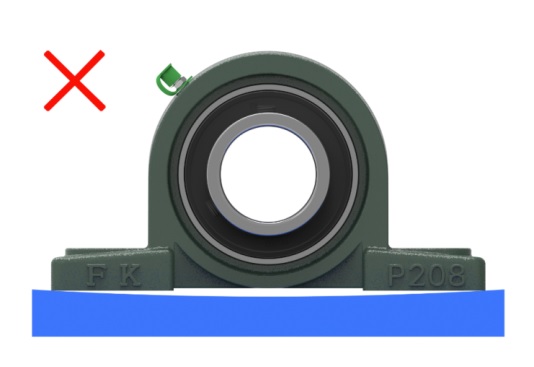
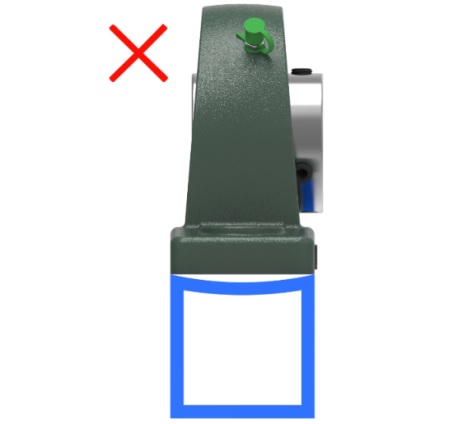
b. Inspect the rigidity and flatness of mounting surface
The mounting surface of machine must be sufficiently rigid, and the mounting surface must be as flat and smooth as possible. Flatness: Max0.15mm (0.05mm is more useful).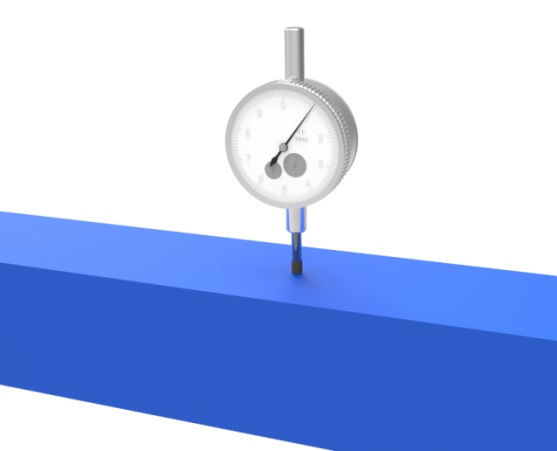
c. Install bearing unit
Avoid striking the bearing with a hammer to press-fit the bearing to the shaft, if you give a strong impact to the side surface of the inner ring, the slinger moves, and it may cause a problem. When there is a tight fit between bearing bore and shaft, we suggest you use press equipment to install.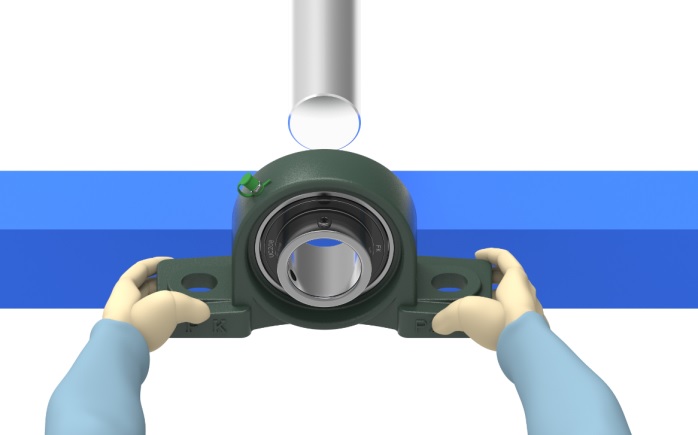
d. Pre-tighten housing
Excessive tightening of the mounting bolts may cause the housing to deform. Tighten the bolts to the proper torque, FK recommends using a washer with the bolt when mounting the housing as the bolt alone may cause damage to the housing.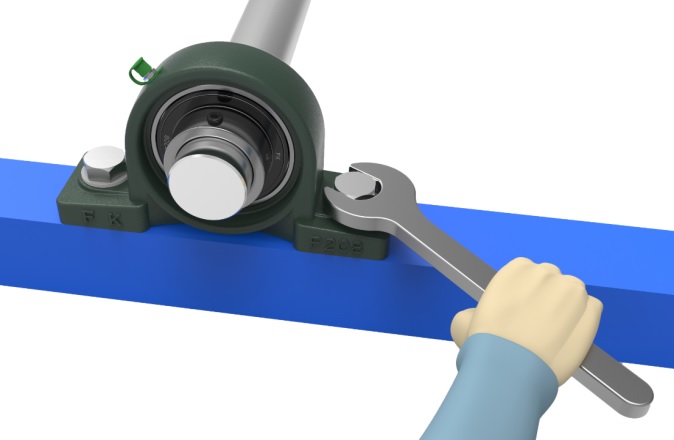
e. Tighten setscrews
Insert a hexagonal bar wrench into the hexagonal hole of the setscrew, and tighten the setscrews with the recommended torque.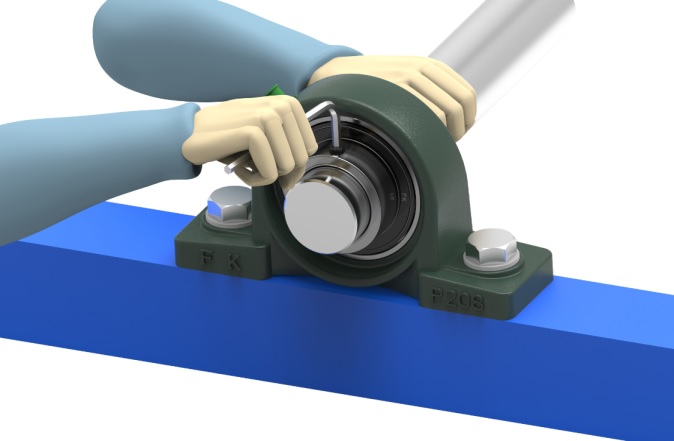
f. Tighten housing
Excessive tightening of the mounting bolts may cause the housing to deform. Tighten the bolts to the proper torque.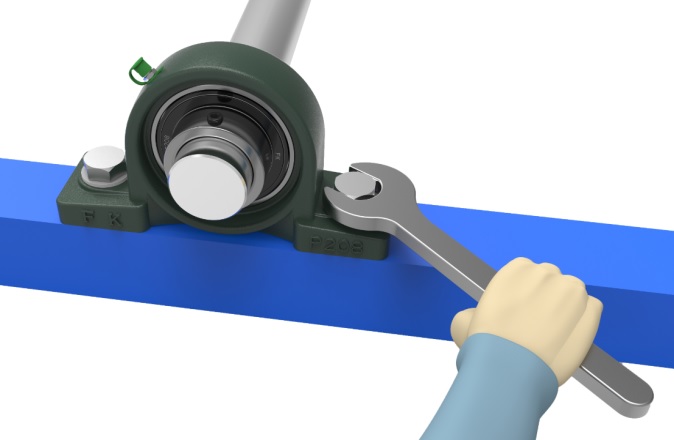
2. Mounting of eccentric locking collar unit:
NOTE:Eccentric locking collar unit is not recommended for applications where the direction of rotation is sometimes reversed, since the eccentric collar can loosen.
a. Install bearing unit
Avoid striking the bearing with a hammer to press-fit the bearing to the shaf, if you give a strong impact to the side surface of the inner ring, the slinger moves, and it may cause a problem. When there is a tight fit between bearing bore and shaft, we suggest you use press equipment to install.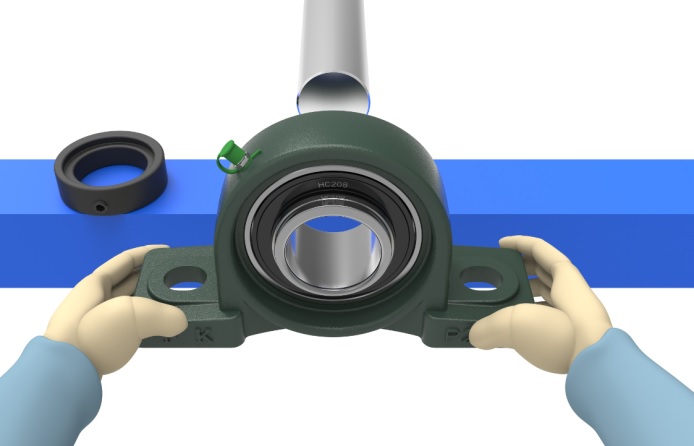
b. Pre-tighten housing
Excessive tightening of the mounting bolts may cause the housing to deform. Tighten the bolts to the proper torque , FK recommends using a washer with the bolt when mounting the housing as the bolt alone may cause damage to the housing.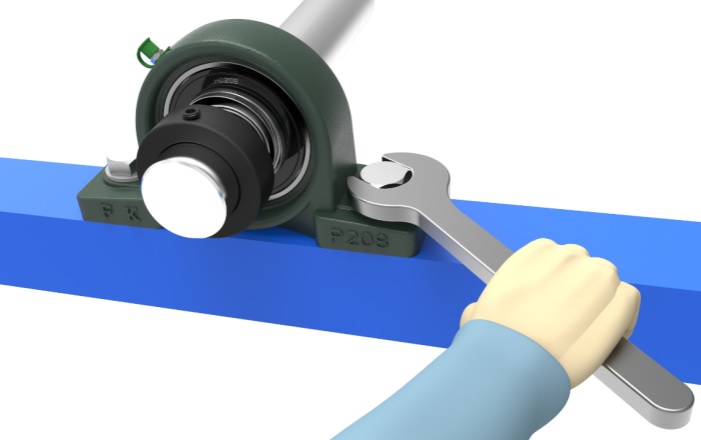
c. Fit the eccentric collar
Fit the eccentric section of the inner ring of the bearing to the eccentric recessed section of the eccentric locking collar, and rotate the collar in the direction of shaft rotation by hands to tighten it temporarily.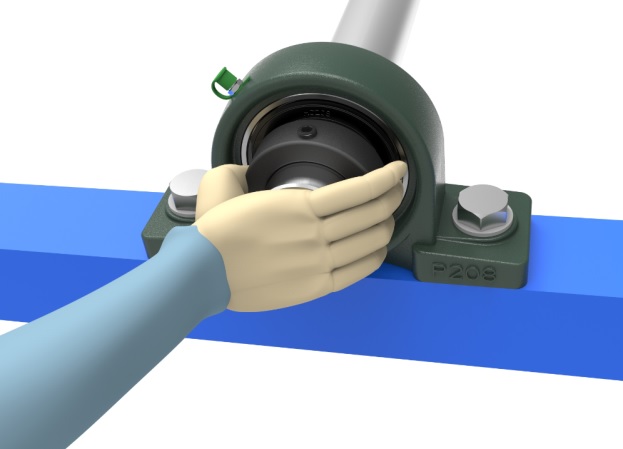
d. Rotate eccentric collar
Fit a rod in the hole on the circumference of the eccentric collar and tap it with a hammer so the collar rotates in the shaft rotating direction.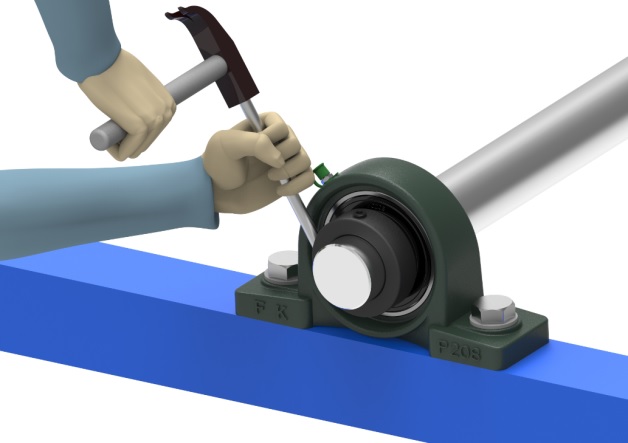
e. Tighten eccentric collar
Tighten the setscrew on the eccentric collar to the proper torque, please refer to FK catalog of the proper torque.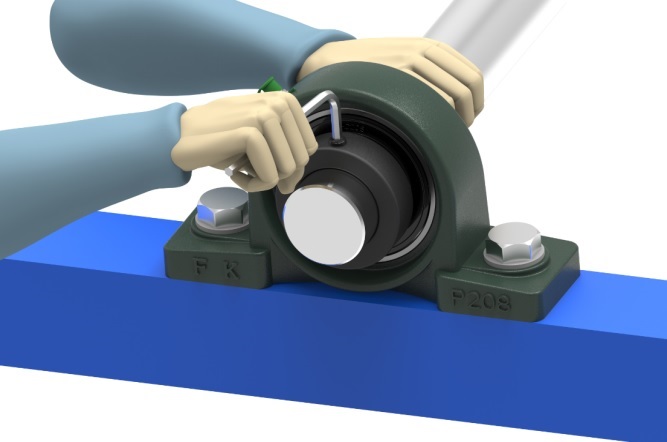
f. Tighten housing
Excessive tightening of the mounting bolts may cause the housing to deform. Tighten the bolts to the proper torque.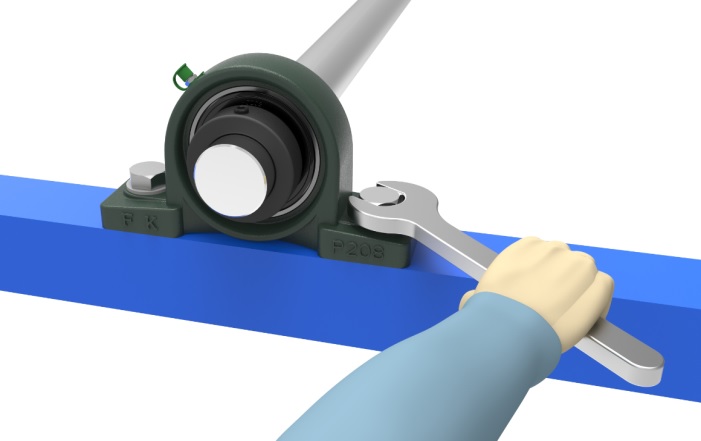
3. Mounting of adapter sleeve unit:
NOTE: The adapter sleeve unit can be reliably secured to the shaft even when it is subjected to the impact loads and vibrations. But, this unit can not be used on a shaft that is subjected to grease axial load.
a. Fit the sleeve onto the shaft
Fit the sleeve onto the shaft and position it so that its tapered section is centered to the bearing. For easy fitting, expand its slow with screwdriver or similar tools.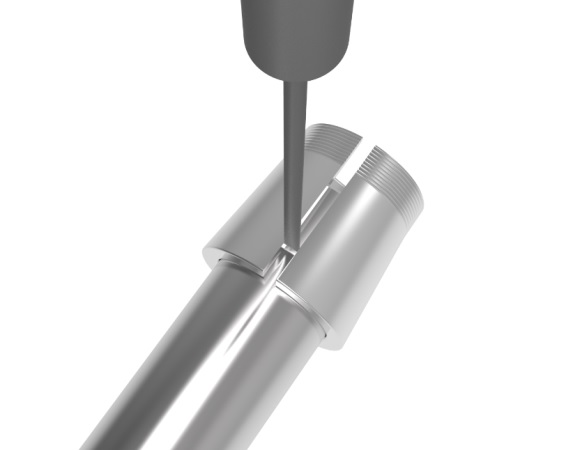
b. Install bearing units
Fit the bearing unit over the sleeve.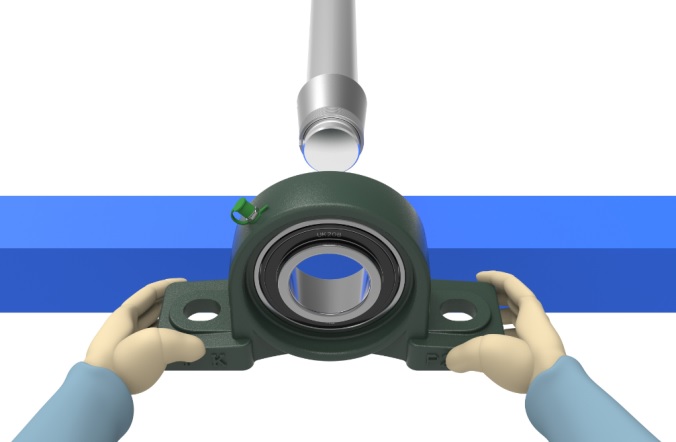
c. Pre-tighten housing
Excessive tightening of the mounting bolts may cause the housing to deform. Tighten the bolts to the proper torque, FK recommends using a washer with the bolt when mounting the housing as the bolt alone may cause damage to the housing.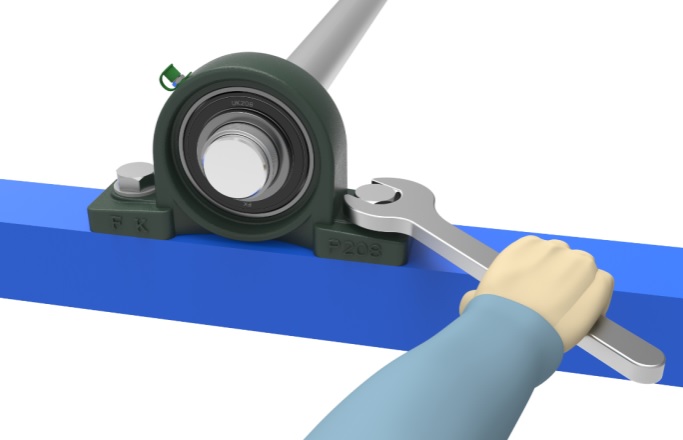
d. Tighten adapter sleeve
Gently tap side of sleeve along the whole circumference of the sleeve so that the bearing inner ring is closely seated on the sleeve.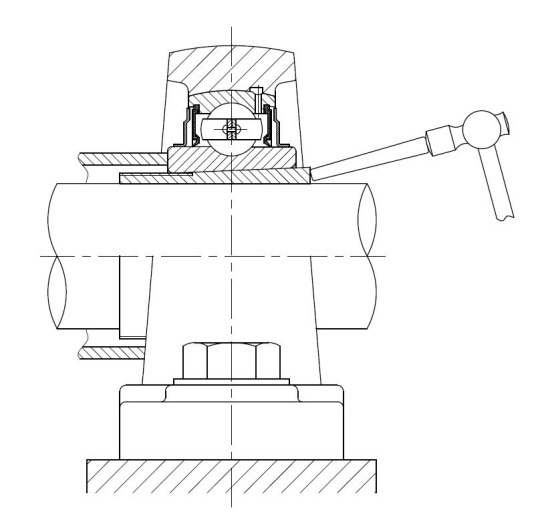
e. Fit washer and nut
Place the lockwasher, and fully handtighten the nut.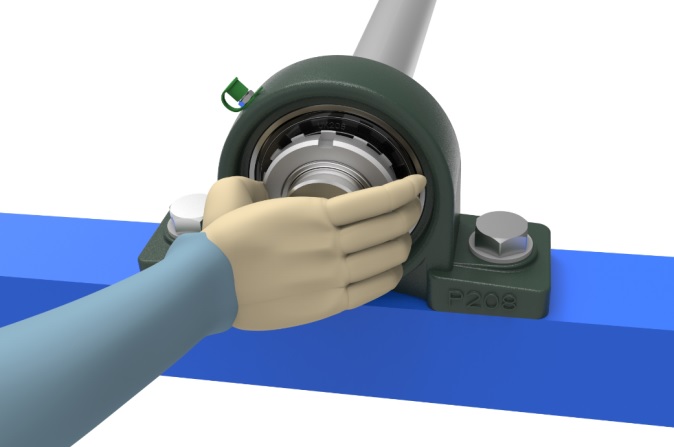
f. Lock the nut
Fit a jig or a screwdriver in one of slots on the nut, and tap it with a hammer until the nut turns 60 to 90 degree. NEVER tap the slinger and NEVER overtighten the nut.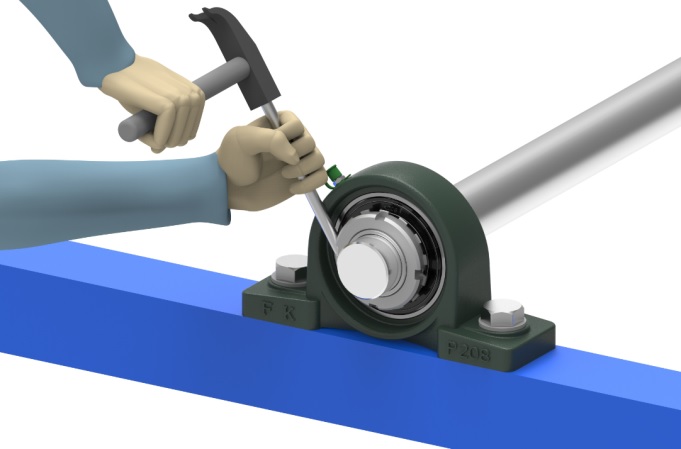
g. Secure the nut
Bend tabs of lockwasher so that it fits into slots on the nut.
Never back rotate nut to fit washer tabs, forward rotate nut to fit the washer tabs.
h. Tighten housing
Excessive tightening of the mounting bolts may cause the housing to deform. Tighten the bolts to the proper torque.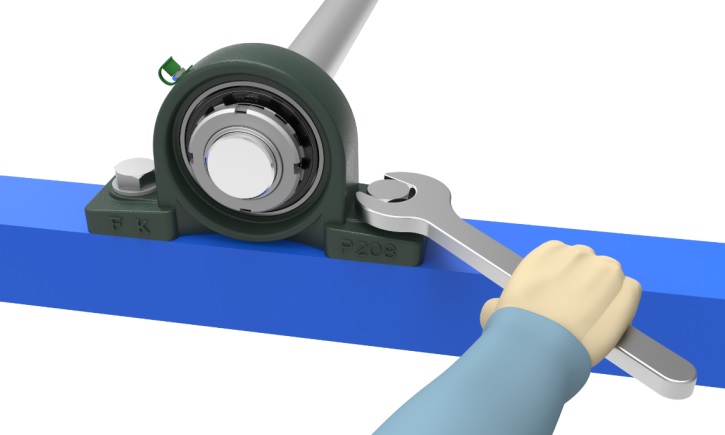
4. Mounting of unit with covers:
a. Fill grease
In order to enhance dust and waterproofing effects, apply grese all around the seal lip of the cover, and fill the 2/3 internal space of the cover with grease.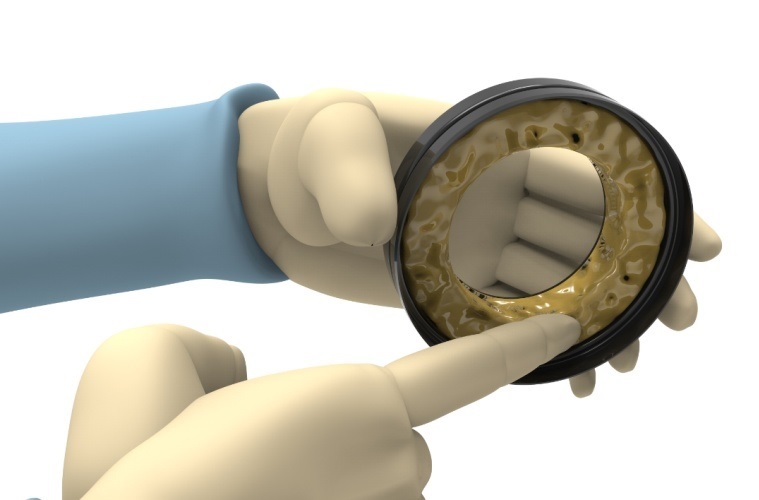
b. Install bearing unit
Pass one cover along the shaft, then slide the bearing unit onto the shaft. The steps to install bearing unit onto the shaft is same as the mounting steps setscrew unit. It is recommended that the end of the shaft be chamfered beforehand to avoid damaging the lips of the rubber seal.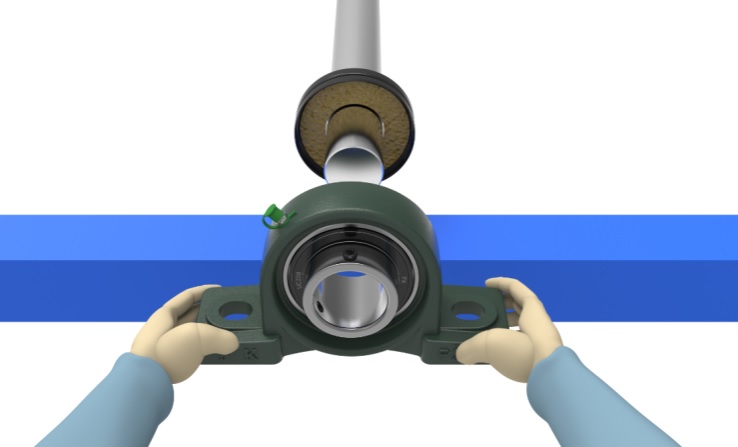
c. Fit cover 1
Take the cover which has been passed along the shaft and press it into the housing. Be careful not to strike surface of the cover directly with a steel hammer but use a synthetic resin or wood block. From 45 degree direction, tap it around the circumference of the cover to exert a uniform impact on the cover to fit it into the groove on the housing.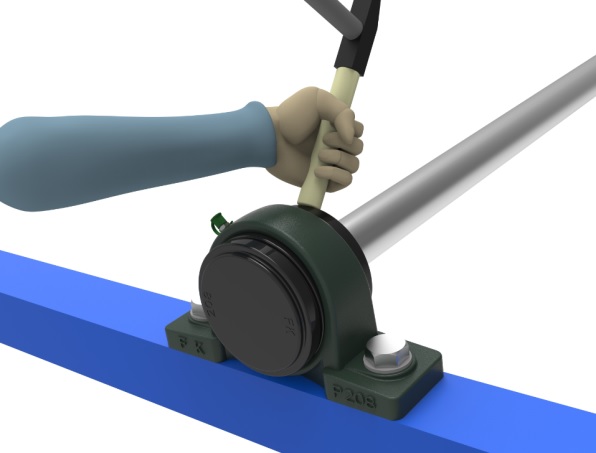
d. Fit cover 2
Be careful not to strike surface of the cover directly with a steel hammer but use a synthetic resin or wood block. From 45 degree direction, tap it around the circumference of the cover to exert a uniform impact on the cover to fit it into the groove on the housing.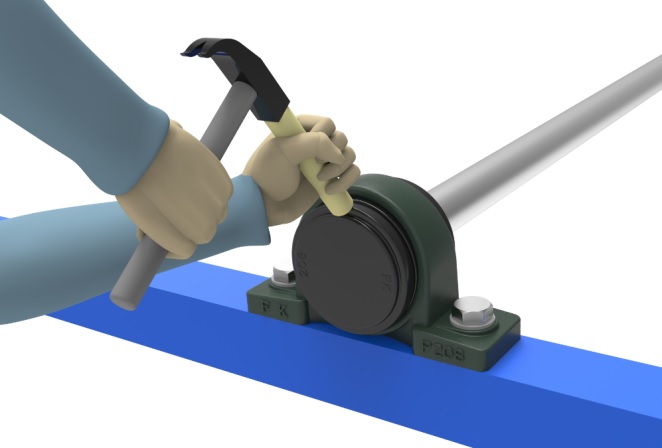


 Anglų
Anglų Ispanų kalba
 Prancūzų kalba
 Vokiečių kalba
 Portugalija
 Italijoje
 Korėjiečių
 Japonų kalba
 Vietnamiečių
 Turkų
Turkų arabiškas
 Rusų kalba
 Čekų
Čekų Tailandietis
 Airis
Airis Bulgarų
 Lenkija
 Kroatas
 Ukrainietis
 Bosnių
 Lietuvis
 Latvis
 Rumunų
 Graikų kalba
 Danų kalba
 Vengrija
 Norvegų
 Suomių
 Olandų
 Švedų
Švedų Slovakas
 Slovėnų
 Indoneziečių kalba
 Bengalų kalba
 Serbų kalba
 Uzbekas


